目次
1 導入に至るまでの経緯
顧客の利便性向上、顧客満足度向上
Woocommerce「新規購入」「処理完了」「キャンセル」などの重要な通知をLINEで配信できます。
メールアドレス宛の通知が届かない・メールボックスに埋もれて見逃してしまったなどの問題を回避し、顧客満足度の向上につなげます。
サービス認知・ロイヤリティの向上
LINE公式アカウントの認知が広がり、LINE公式アカウントへの友だち追加や重要性の高いメッセージ配信によるロイヤリティの向上を見込みます。
電話番号ベースでマッチングし、友だち追加前のユーザーにも配信できるので、友だち追加のきっかけ作りにもなります。
2 LINE通知メッセージの利用条件
Line公式アカウント(@line)の開設
Lineの新規事業を支援するサービス「LINE公式アカウント」。LINEを通して、友だち追加してくれたユーザーに直接情報を届けることができるサービスです。個人情報を得なくても、ユーザーとのコミュニケーションを可能にする寛大なサービスです。
その開設方法はこちらLineのオフィシャルサイトを御参照ください。
Messaging APIの利用開始
「LINE公式アカウント」を開設した後、チャットモードの設定をした後いつものようにLineを介してユーザーとチャットできますが、Woocommerceの注文を受けた後の自動通知を実施する為、Messaging APIの設定が必須です。
Messaging APIの利用開始及びチャネルアクセストークンの取得は今回説明の要点ではないので、詳しい内容はLineのオフィシャルサイトを参考にしてください。
3 LINE通知の発動条件
WordPressに必須なプラグイン
世界中のECサイトに20%シェアを誇るWoocommerce は今や欠かせない存在となってきました。
Messaging APIを組み込んだLINE Messaging API SDK が必要となりますが、ここではLine Connectをお勧め。
Woocommerceの注文を新規から完了、更にキャンセルするまで、注文ステータスが変更する度にメール通知を実施するhookアクション(woocommerce_email_sent)を利用し、Line Messaging APIを呼び出します
クライアント(ユーザー)側からのアクションにて電子レシートを発行通知
管理者側からのアクションに電子レシートを通知
hook アクションの実装
Lineへの送信に必要なMessaging API SKDを搭載しているLine Connectをここで利用。投稿時にはLineへ通知、ボットモードでLine連携など優れた機能を搭載しているプラグインです。是非使ってみてください。
add_action('woocommerce_email_sent', 'kure_customize_woocommerce_email_sent', 10, 3);

function kure_customize_woocommerce_email_sent($return, $id, $mailer)
{
    // Line Connect & Easy Line login(KURE製) が必須
    if (!class_exists('lineconnectMessage') || !function_exists('Esay_line_login')) {
        return;
    }
    $line_messager_class_path = KURE_DIR_CLASS . "kure_customize_line_receipt.php";
    if (!file_exists($line_messager_class_path)) {
        return;
    }
    if (!did_action('woocommerce_email_order_details')) {
        return;
    }

    try {
        if (!isset($mailer->object) || !($mailer->object instanceof WC_Order)) {
            return;
        }

        $order = $mailer->object;
        // 注文のユーザーからLine Idを取得
        if (!Esay_line_login()->has_line($order->get_user(), $line_id)) {
            return;
        }
        static $is_sent;

        if (isset($is_sent[$line_id]) && $is_sent[$line_id] == $order->get_order_number()) {
            // 連続送信しない
            return;
        }
        // メールの送信先が違い、同じオーダーで2回送信されることがある為、重複Line通知を回避
        $is_sent[$line_id] =  $order->get_order_number();

        /** @var kure_customize_line_receipt */
        $line_messager = include $line_messager_class_path;
        foreach (lineconnect::get_all_channels() as $channel) {
            // send_order_roleはKUREがカスタマイズした設定項目
            if (empty($channel['send_order_role']) || !in_array($channel['send_order_role'], $line_role_names)) {
                // 指定された通知対象か
                continue;
            }
            $error = lineconnectMessage::sendPushMessage($channel, $line_id, $line_messager);
            // 一方通行の為、ブロック中のユーザかどうか分からないです。その時、Webhookの配信完了イベントにて送信結果を拾う必要があるが、チャットモードの場合、Webhookが利用できない
            // https://developers.line.biz/ja/docs/partner-docs/line-notification-messages/message-sending-complete-webhook-event/#overview-delivery-webhook-event
            if ($error["success"]) {
                // 一度成功したら、複数回の通知を実施しないよう、中断
                break;
            }
        }
    } catch (Throwable $th) {
        //すべての例外を無視
    }
}
4 Messaging APIへ送信するFlex Message JSON
Messaging API側に送信できるテンプレートメッセージはFlex Messageと言います。規定のJSONレイアウトであれば自由にデザインできます。
Flex Messageのデザインを提供するツールが色々ありますが、NO課金主義なので、Line社のマニュアルを頼りに制作してみました。
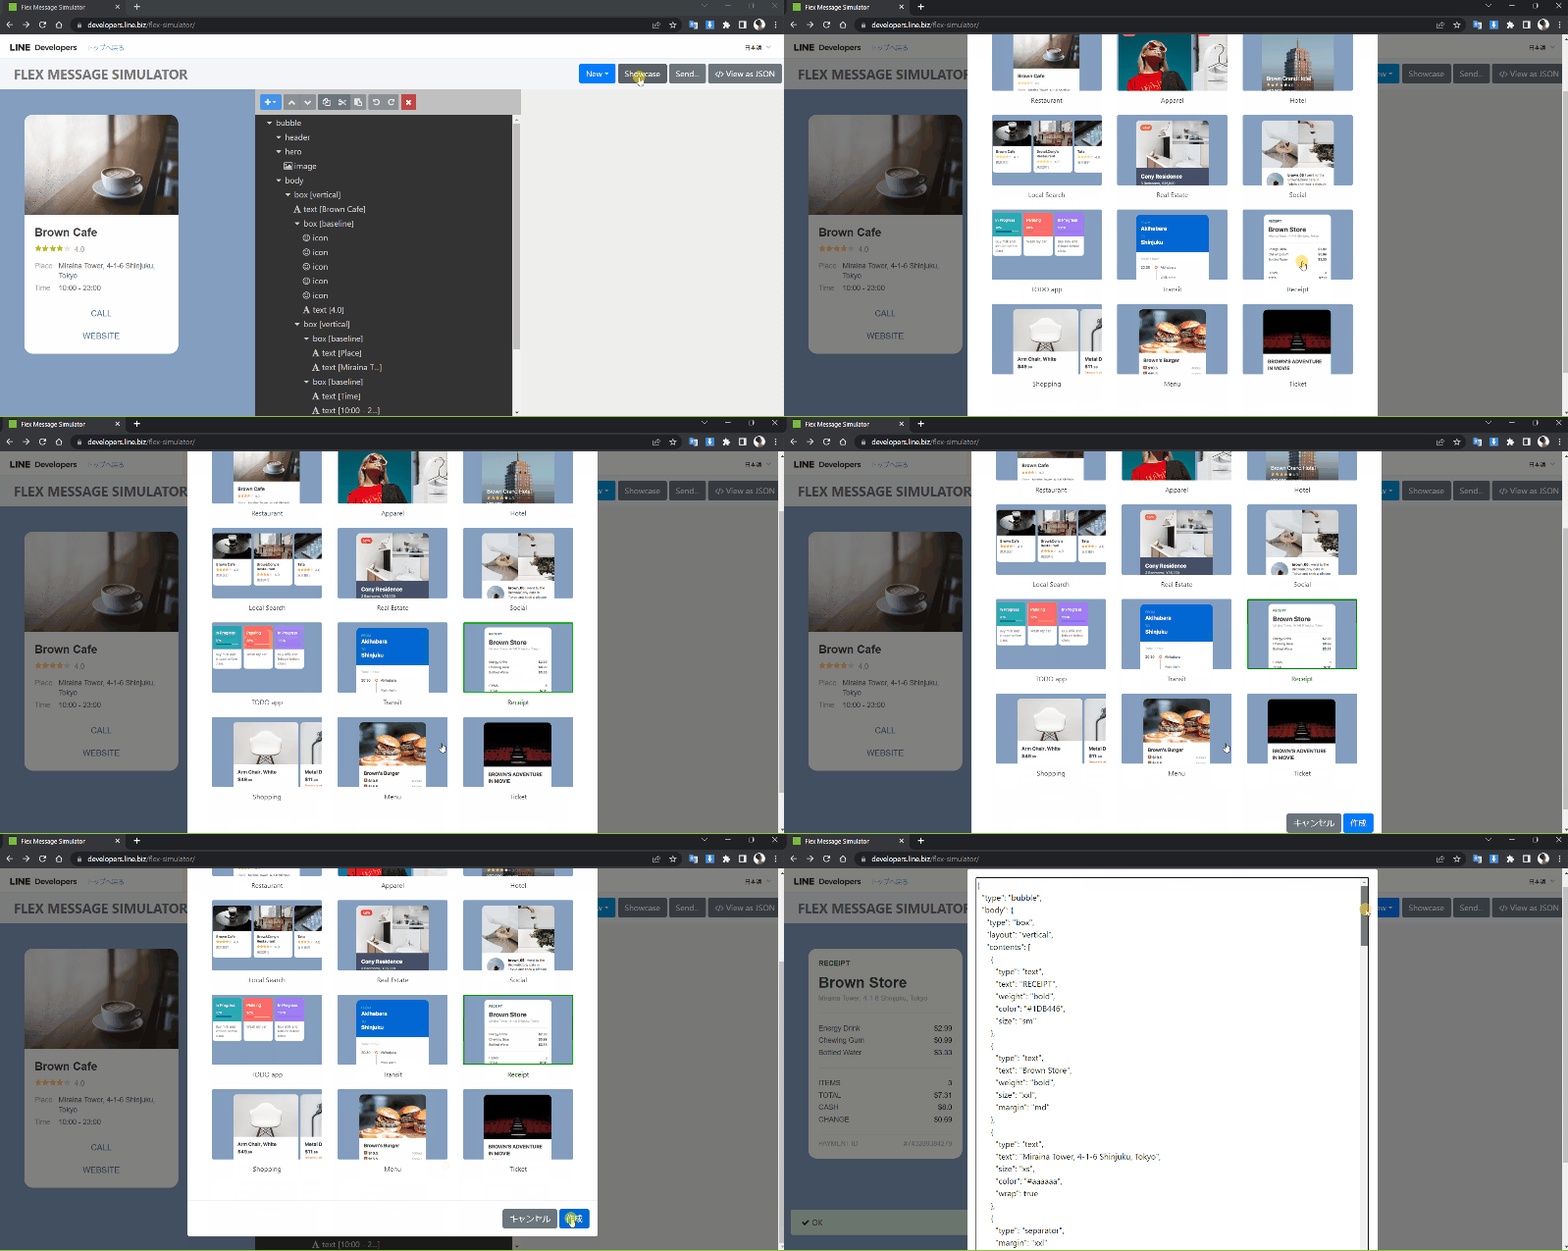
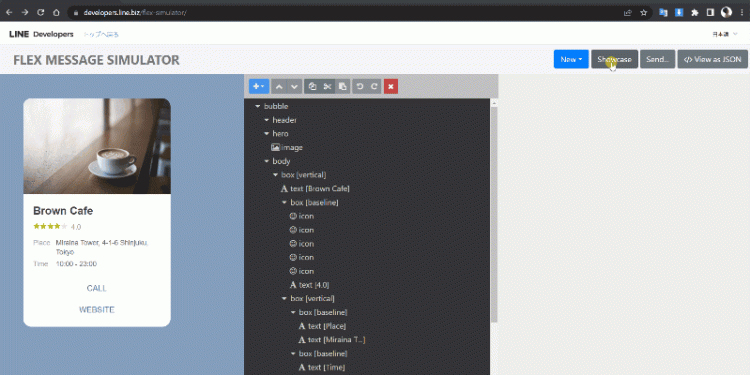
まずはLine Developers Flex Message Simulatorからレシートらしいテンプレートを探し、そのJSONをアレンジする。

アレンジ後のJSONを紹介します。
アレンジ後BODY JSON
"type": "bubble",
"body": {
    "type": "box",
    "layout": "vertical",
    "contents": [
        {
            "type": "box",
            "layout": "horizontal",
            "contents": [
                {
                    "type": "image",
                    "url": "{site_logo}",
                    "align": "start"
                },
                {
                    "type": "text",
                    "text": "{order_status}",
                    "weight": "bold",
                    "color": "#1DB446",
                    "size": "sm",
                    "align": "end",
                    "gravity": "center"
                }
            ]
        },
        {
            "type": "text",
            "text": "{order_title}",
            "weight": "bold",
            "size": "xxl",
            "margin": "md",
            "decoration": "underline",
            "action": {
                "type": "uri",
                "label": "action",
                "uri": "{order_link}"
            }
        },
        {
            "type": "text",
            "text": "{order_address}",
            "size": "xs",
            "color": "#aaaaaa",
            "wrap": true
        },
        {
            "type": "separator",
            "margin": "xxl"
        },
        {
            "type": "box",
            "layout": "vertical",
            "margin": "xxl",
            "spacing": "sm",
            "contents": [
                {order_items},
                {
                    "type": "separator",
                    "margin": "xxl"
                },
                {order_total}
            ]
        },
        {
            "type": "separator",
            "margin": "xxl"
        },
        {
            "type": "box",
            "layout": "horizontal",
            "margin": "md",
            "contents": [
                {
                    "type": "text",
                    "text": "{order_note}",
                    "size": "xs",
                    "color": "#aaaaaa",
                    "wrap": true
                }
            ]
        }
    ]
},
"styles": {
    "footer": {
        "separator": true
    }
}
※”{order_NNN}”:str_replaceのキーワードを示します。
詳細Items(URL付き) JSON
"type": "box",
"layout": "horizontal",
"contents": [
    {
        "type": "text",
        "text": "{item_title}",
        "size": "sm",
        "color": "#555555",
        "flex": 0,
        "action": {
            "type": "uri",
            "label": "action",
            "uri": "{item_link}"
        }
    },
    {
        "type": "text",
        "text": "{item_value}",
        "size": "sm",
        "color": "#111111",
        "align": "end"
    }
]
詳細Items JSON
"type": "box",
"layout": "horizontal",
"contents": [
    {
        "type": "text",
        "text": "{item_title}",
        "size": "sm",
        "color": "#555555",
        "flex": 0
    },
    {
        "type": "text",
        "text": "{item_value}",
        "size": "sm",
        "color": "#111111",
        "align": "end"
    }
]
アレンジ ポイント
- サイトアイコンを表示
- 注文ステータスを表示
- 注文番号をヘッダー部に表示、そして、該当注文履歴へリダイレクトの為、URLも埋め込む
- 注文詳細(商品リスト)も自動生成され、該当商品へリダイレクトの為、URLも埋め込む
- woocommerce注文履歴のフッター欄と同様に合計金額、送料、支払方法を表示
- 管理者側から追加した備考(Order Note)も表示
その中から複数ソースコードを紹介します。
注文商品詳細の出力
文字列を生成し、BODYJSONの”{order_items}”と置き換えます。
// 注文商品を出力
foreach ($this->order->get_items() as $item_id => $item) {
    if ($item instanceof WC_Order_Item_Product) {
        $product = $item->get_product();
        $json_items[] = $this->create_items_with_link(
            $product->get_name(), // {item_title} 商品名
            $product->get_permalink(), // {item_link} 商品へのリダイレクトする為、リンクを埋め込む
            $this->order->get_formatted_line_subtotal($item) // {item_value} 値段
        );
    } else {
        // 基本的にProduct以外のItemがないですが、Product Addons & Optionsなどプラグインを導入している場合、該当分岐に入る
        $json_items[] = $this->create_items_no_link(
            $item->get_name(),
            $this->order->get_formatted_line_subtotal($item)
        );
    }
}
合計金額の出力
文字列を生成し、BODYJSONの”{order_total}”と置き換えます。
$faqurl = $this->get_order_payment_faqurl(); // 決済方法の案内(よくある質問)ページ
// 金額、送料など出力
foreach ($this->order->get_order_item_totals() as $item_id => $item) {
    if ($item_id === 'payment_method' && !empty($faqurl)) {
        $json_total[] = $this->create_items_with_link(
            $item['label'],
            $faqurl, // 決済方法へのリダイレクトを埋め込む
            $item['value'],
        );
    } else {
        $json_total[] = $this->create_items_no_link(
            $item['label'],
            $item['value']
        );
    }
}
備考(注文ノート)の出力
備考(注文ノート)はwoocommerceの注文編集の管理者画面で追加できます。管理者向けのノートか、顧客へ通知するノートかの2種類が存在します。顧客への通知も電子レシートへ出力します。
手入力する項目の為、自由に記号などが入力できます。ダブルコーテーション、特殊記号が含まれるとJSON文字列はエラーが発生してしまいます。そのため、事前に除去し、JSONエラーの発生を防ぎます。
private function get_order_notes()
{
    $notes = array();
    foreach ($this->order->get_customer_order_notes() as $ext_note) {
        if ($ext_note instanceof WP_Comment) {
            // 日付 + 内容、wptexturizeにて特殊記号を有効な文字へ変換
            $notes[] = date_i18n(get_option('date_format'), strtotime($ext_note->comment_date)) . ' ' . wptexturize($ext_note->comment_content);
        }
    }

    $notes = array_filter(array_map('trim', $notes));

    $str_notes = $this->del_specialchars(implode('\n', $notes));

    if (empty($str_notes)) {
        // 空欄だと、Line側でエラーが発生する為、ノートがない場合も内容を設定
        $str_notes = '注文メモなし';
    }
    return $str_notes;
}

private function del_specialchars($text)
{
    $text = html_entity_decode(wp_strip_all_tags($text));

    // json の 変換でエラーにならないよう、ダブルコーテーションをなくす
    $text = str_replace(
        ['"', "'"],
        ' ',
        $text
    );
    return $text;
}
5 まとめ
Line は日本国内だけでも9300万のユーザーを誇っています。数多くの企業、政府機関もLineを活用し、ユーザーに情報を発信しています。世の中はLineを無視できない偉大なる存在です。もちろん著者も同じく。
著者は長年クラサバの開発に専念してきました。コロナのおかげで 家に居る時間が増え、2022年からLine + WordPressに興味を持ち始め、挑戦を続けています。まだまだ未熟者ですが、微力ながらも一人でも多くの方・開発者の参考になれば嬉しいです。これからも引き続き挑戦し続けますのでご期待ください。
そして、質問また指摘が承っておりますので、是非ログインしてコメントを残してください。
 神戸
神戸 明石
明石


 MeIN
MeIN Gooall
 shAop
shAop Global
 Booking